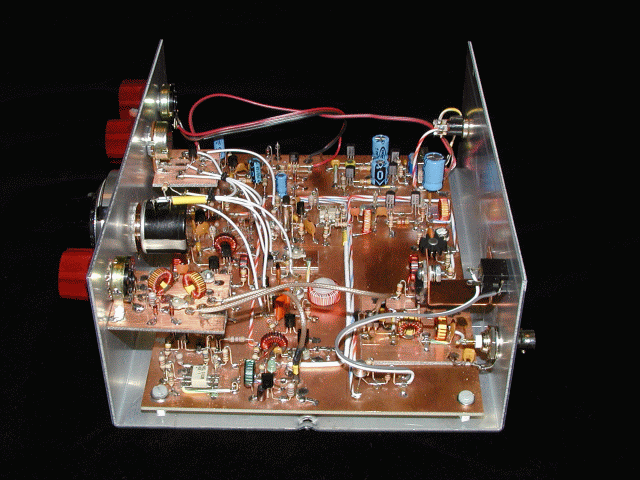
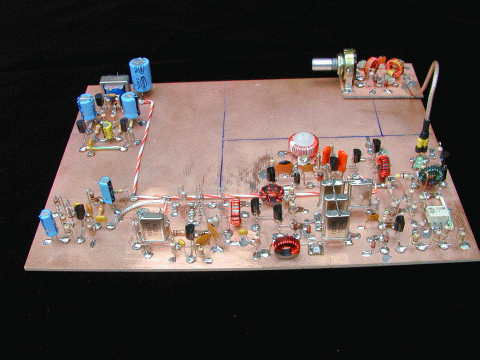
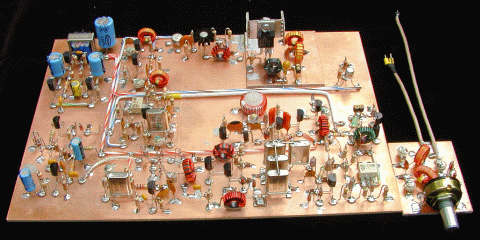
Follow down this page to see how this rig was constructed!
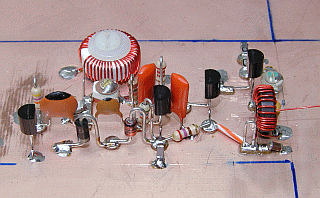
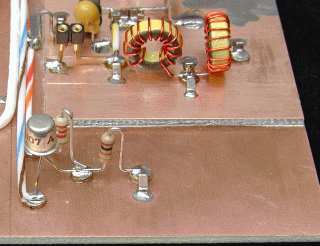
Construction of this rig started with one of the four sub-modules that were used. This one contains the receive T/R switch, and the input bandpass filter components.
The RF gain potentiometer provides the means of mounting the module to the front-panel.
The first components to go on the main substrate were for the VFO. RIT components were added later.
The main inductor wound on the white T50-7 core is held between a pair of #8 nylon shouldered washers. These keep the coil off of the surface of the PC board substrate, and prevent it from moving around. A nylon 4-40 screw is used to secure the assembly.
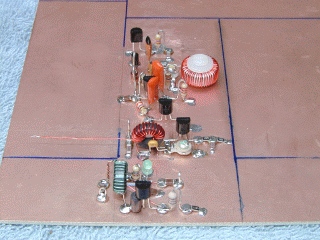
Components for the Norton "noiseless feedback" receive RF amplifier were then added.

Next, an ADE-1 mixer was attached to a substrate header and affixed to the main substrate along with the remaining components for this stage.
The output link from the VFO drives the mixer LO port through a 6 dB attenuator. The IF port of the mixer is terminated with a 3 dB attenuator.
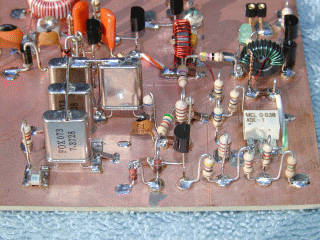
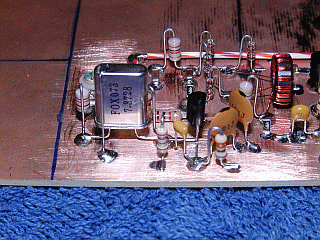
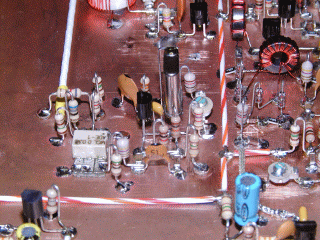
Post-mixer amplifier and crystal filter components were added next.
Note that the crystal cases are tied together and grounded to the substrate to optimize filter performance.
Components for the IF amplifier were added next.
This stage has about 40 dB of gain, so careful layout is important. Keeping the input and output transformers separated as much as possible improves stability.
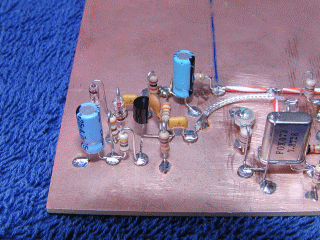
Product detector components were then added to the substrate.
To make the product detector function, the LO components were soldered in place.
The crystal case is grounded here also.
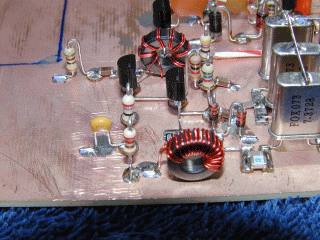
Next, the audio preamplifier components were added, completing the construction along the front of the substrate.
The diodes shown here were later moved and became part of the receive mute circuitry, where they were designed to be.
These are the receive mute circuitry components.
This circuitry was added between the main amplifier stage to the left and the preamplifier to the right after the transmit strip was finished and operational.
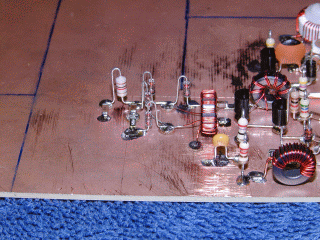
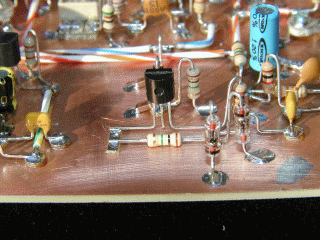
On the left rear side of the substrate, the main audio amplifier components were added.
This same two stage, direct coupled, push-pull amplifier has been used in every 2N2/XX designed to date, and provides over 80 dB of power gain with very low noise.
Substrate with all of the receive components in place except the receive audio mute circuitry.
The receive T/R switch/input filter module is plugged into the RF amplifier.
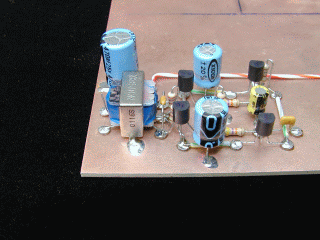
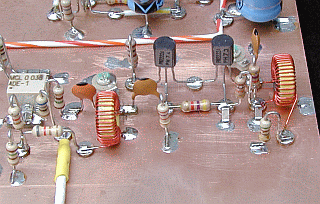
These are the initial transmit parts. In the middle of the image is the transmit local oscillator, and to its left, the transmit mixer, another ADE-1. The white lead coming in from the top of the image is a piece of teflon coax carrying the VFO signal to the attenuator that connects to the RF port on the mixer.
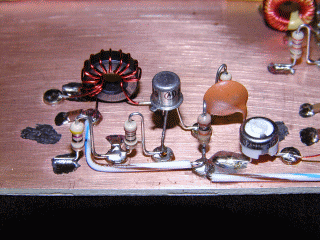
The components for the transmit Cascode RF amplifier were then added to the substrate. A 51 ohm resistor temporarily terminates this stage for testing.
As with the receive IF amplifier, keeping the input and output transformers separated helps control instability of this high gain stage.
Next, components for the transmit driver were added. The 2N2222 transistor will get a suitable heat sink later. The small 50 ohm potentiometer sets the transmit power.

Another sub-module was used for the final amplifier assembly so that it could be replaced easily if the 2SC2166 transistor didn't work out as expected. It worked wonderfully well, and was left intact in the rig as it is shown here.
The temporary heat sink was replaced with a copper strap to carry the heat to the back panel of the case.
The final components to be installed were those for the transmit/receive switch, adjacent to the final amplifier module.
Completed substrate build except the onboard RIT components. Those were installed to the left of the VFO circuitry in the open space that can be seen. The board mounted components went on yet another sub-module.
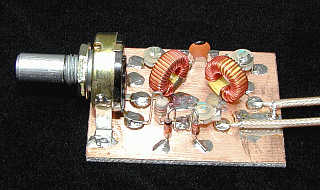
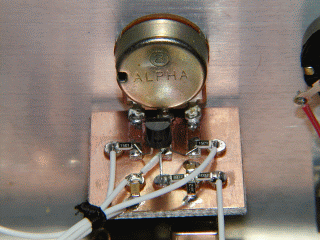 RIT control
module mounted to front panel.
RIT control
module mounted to front panel. |

RIT frequency module
mounted to substrate
|
Back to the "2N2/30" page